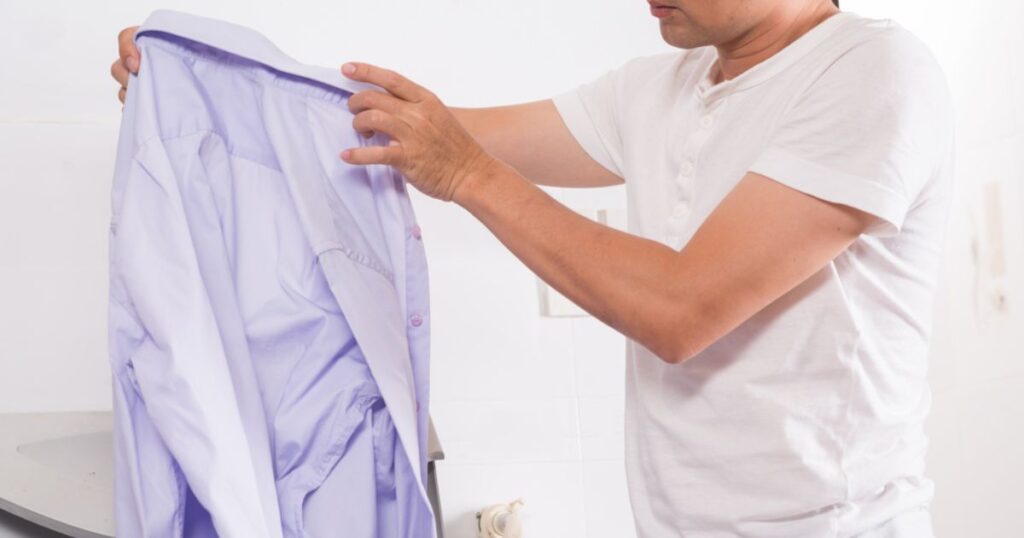
Have you ever found yourself with a too-big or baggy shirt? Instead of letting it sit unworn in your closet, why not try shrinking it to achieve the perfect fit? In this ultimate guide, we’ll explore the art of shirt shrinking, covering everything from fabric types to step-by-step techniques, ensuring you can resize clothing and breathe new life into those oversized apparel pieces.
The key to successful garment shrinking is understanding the fabric type and following the appropriate method. Different materials respond uniquely to shrinking techniques, so it’s crucial to approach the process with care and precision.
Whether you’re dealing with cotton, wool, polyester, or linen, we’ve covered you with tailored solutions.
Fabric Matters: Identifying the Right Shrinking Technique

Cotton
Cotton is a popular choice for shirts due to its breathability and comfort. However, it’s also highly susceptible to shrinking. You can rely on the tried-and-true washing and drying method to shrink a cotton shirt. Just remember to monitor the process closely to avoid over-shrinking.
Wool
Delicate and luxurious, wool requires special care when it comes to shrinking. Avoid exposing wool shirts to high heat or hot water, which can cause uneven shrinkage or misshaping. Instead, use gentle techniques like steaming or hand washing to resize the garment gradually.
Polyester
Polyester is a synthetic fabric resistant to shrinking, making it a bit trickier to resize. If you’re determined to shrink a polyester shirt, you may need to use high-heat settings on your dryer or a hot water washing cycle. However, be cautious, as there is a risk of damaging the fabric.
Linen
Known for its breathability and lightweight feel, linen is another fabric that can benefit from shrinking. To resize a linen shirt, wash it in hot water and then tumble dry on high heat. Keep a close eye on the drying process, as linen can shrink quickly.
Step-by-Step: Shrinking Your Shirt Like a Pro
Now that you understand the nuances of different fabrics, let’s examine the step-by-step shrinking methods. We’ll cover two popular approaches: the washing machine and dryer method and the hand washing and heat drying technique.
Washing Machine and Dryer Method
- Check the Fabric Type: Before proceeding, review the care label to ensure the shirt is suitable for shrinking in hot water and high heat.
- Wash in Hot Water: Toss the shirt into the washing machine and run a regular cycle with hot water. This will relax the fabric fibers and begin the shrinking process.
- Dry on High Heat: Transfer the shirt to the dryer and tumble on the highest heat setting until completely dry. Keep a close eye on the shirt during this step to prevent over-shrinking.
- Monitor Shrinking: Periodically check the shirt’s size during drying. Remove it from the dryer once it reaches your desired level of shrinkage.
- Care Tips: To prolong the shirt’s lifespan, avoid frequent shrinking. Air-drying is a gentler alternative for delicate fabrics or prints. Exercise caution with embellishments or intricate designs.
Hand Washing and Heat Drying Method
- Prepare Your Supplies: Gather a basin or sink, hot water, and an eco-friendly detergent like Blue Water Detergent Strips. Ensure you have a flat surface nearby for drying.
- Fill the Basin with Hot Water: Fill your basin or sink with hot water (not too hot to handle) and mix in your sustainable detergent product.
- Submerge Your Shirt: Place your shirt into the hot water and let it soak for 10-15 minutes. This helps relax the fabric fibers and prepare them for shrinking.
- Gently Agitate: While submerging the shirt, gently agitate it by swirling it in the water. Avoid rough handling to prevent damaging the fabric.
- Rinse with Cold Water: After soaking, remove the shirt from the hot water and rinse it thoroughly with cold water. This helps set the fabric and prevent over-shrinking.
- Squeeze Out Excess Water: Carefully squeeze the excess water from the shirt without wringing it. Press the fabric gently to remove as much water as possible.
- Heat Dry the Shirt: Place the shirt in the dryer in the highest heat setting. Keep a close eye on it to prevent overheating or over-drying. Once the shirt has reached your desired size, remove it from the dryer and let it cool.
Measuring for the Perfect Fit: Getting the Size Just Right
Achieving the perfect fit is key when shrinking a shirt. To ensure you get it right, measuring the shirt before and during the shrinking process is essential. Here’s how:
- Lay the Shirt Flat: Find a flat surface to lay your shirt on, such as a table or a clean floor. Smooth out any wrinkles for accurate measurements.
- Measure the Length: Start by measuring the length of the shirt from the top of the shoulder to the bottom hem. This will help you determine how much you want to reduce the shirt’s length.
- Measure the Width: Next, measure the shirt’s width across the chest area. This measurement will help you decide how much to shrink the shirt.
- Check the Sleeves: If you want to shrink the sleeves, measure their length from the shoulder seam to the end of the cuff.
- Record Measurements: Write down the original measurements of the shirt and the desired measurements you want to achieve after shrinking. This will serve as your guide throughout the process.
| Measurement | Original Size | Desired Size |
| Length | 28 inches | 26 inches |
| Width | 20 inches | 18 inches |
| Sleeve Length | 24 inches | 22 inches |
By taking accurate measurements and monitoring the shrinking process, you can ensure your shirt achieves the perfect fit tailored to your preferences.
Shrinking Dos and Don’ts: Avoiding Common Mistakes

While shrinking a shirt can be a game-changer for achieving the perfect fit, it’s essential to avoid common pitfalls that can lead to damage or unsatisfactory results. Here are some dos and don’ts to keep in mind:
Dos:
- Read Care Labels: Always check the care label for specific washing and drying instructions to avoid damaging the fabric.
- Use Appropriate Temperatures: Match the water and heat settings to the fabric type to prevent excessive shrinkage or damage.
- Pre-Treat Stains: Remove any visible stains or spots before shrinking to prevent them from setting permanently.
- Monitor Closely: Monitor the shirt closely during the drying process to achieve the desired level of shrinking.
Don’ts:
- Over-Shrink: Avoid excessive shrinking, as this can lead to a shirt that’s too small or misshapen.
- Use Harsh Chemicals: Avoid harsh detergents or bleach, as these can weaken and damage the fabric fibers.
- Neglect Fabric Type: Don’t ignore the specific care instructions for different fabric types, which can lead to uneven shrinkage or damage.
- Wring or Twist: Avoid wringing or twisting the shirt, as this can distort the shape and cause uneven shrinkage.
By following these dos and don’ts, you can ensure a successful shirt shrinking experience, extending the lifespan of your apparel pieces while achieving the perfect fit every time.
Read Also: How To Find Your Fashion Style
FAQs
How do you shrink a shirt that is too big?
You can use the washing machine and dryer method or opt for hand washing and heat drying. The key is to use hot water and high heat settings appropriate for the fabric type. Monitor the shirt closely during the drying process to achieve the desired level of shrinkage without over-shrinking.
How to make a shirt smaller?
A few effective ways to shrink a shirt include washing it in hot water, tumble drying on high heat, or combining both. You can also try hand washing the shirt in hot water and then heat drying it. The heat and moisture cause the fabric fibers to contract, shrinking the overall size of the garment.
Can you shrink a shirt by just drying it?
Yes, it is possible to shrink a shirt by just drying it, especially if the shirt is made of a natural fiber like cotton. Simply placing the shirt in the dryer and running it on a high-heat cycle can cause the fibers to tighten and shrink the fabric. However, this method may not be as effective as washing the shirt in hot water first and then drying it.
Does boiling a shirt damage it?
Boiling a shirt can damage the fabric, especially if it’s made of delicate materials like silk or wool. The high temperature and agitation of boiling water can cause fibers to break down, leading to shrinkage, fading, or distortion of the garment’s shape. Sticking to hot water from the tap or washing machine is generally safer than boiling a shirt to shrink it.
Conclusion
Shrinking a shirt doesn’t have to be a daunting task. Understanding fabric types, following the appropriate techniques, and measuring for the perfect fit allows you to breathe new life into your oversized wardrobe items.
Whether you prefer the convenience of a washing machine and dryer or the gentle touch of hand washing, this guide has provided you with the tools and knowledge to shrink shirts like a pro.
Remember, experimentation and patience are key. Don’t be afraid to try different methods until you find the perfect balance between size and fabric integrity. And who knows? Your newly shrunken shirts might become your new favorites, saving you money and reducing waste.
So, go ahead and give it a try! Embrace the art of shirt shrinking and enjoy the confidence of a perfectly fitted wardrobe. If you have any tips, tricks, or success stories to share, we’d love to hear them in the comments below.
Happy shrinking!
Adopting clothing resizing and garment shrinking techniques can be a game-changer in pursuing a more eco-friendly and sustainable lifestyle. By extending the life of your apparel pieces, you’re actively contributing to waste reduction and minimizing your environmental impact.
But why stop there? Incorporating eco-conscious products like Blue Water Detergent Strips into your laundry routine can further amplify your efforts towards green living. These innovative detergent pods are highly effective and come in plastic-free, zero-waste packaging, making them a truly sustainable choice.
Imagine the satisfaction of achieving the perfect fit while embracing an earth-friendly approach. By combining the art of shirt shrinking with eco-friendly detergents, you’ll take a meaningful step towards a more sustainable wardrobe and a greener tomorrow.
So, why not challenge yourself to explore the world of clothing resizing and eco-conscious laundry solutions? You’ll save money, reduce waste, and contribute to a healthier planet, one perfectly fitted shirt at a time.
Don’t forget to share your sustainable living tips and experiences in the comments below. We can inspire and empower each other to make conscious choices that positively impact our environment.


